Imagine this: You spend weeks tweaking your WordPress Child Theme and customizing your site. You adjust the CSS to get the perfect dark mode colors, you modify the header, and you finally get the layout exactly how you want it. Then, you see a notification: “New Theme Update Available.” You click update.
Suddenly, all your customizations are gone. Your site looks generic again.
This is a nightmare scenario for any WordPress developer, but it happens constantly to beginners. The solution is simple, yet essential: A WordPress Child Theme.
At ProWPKit, we believe in building sites that are stable and scalable. In this guide, I’ll explain exactly what a child theme is and how to set one up so you never lose your hard work.
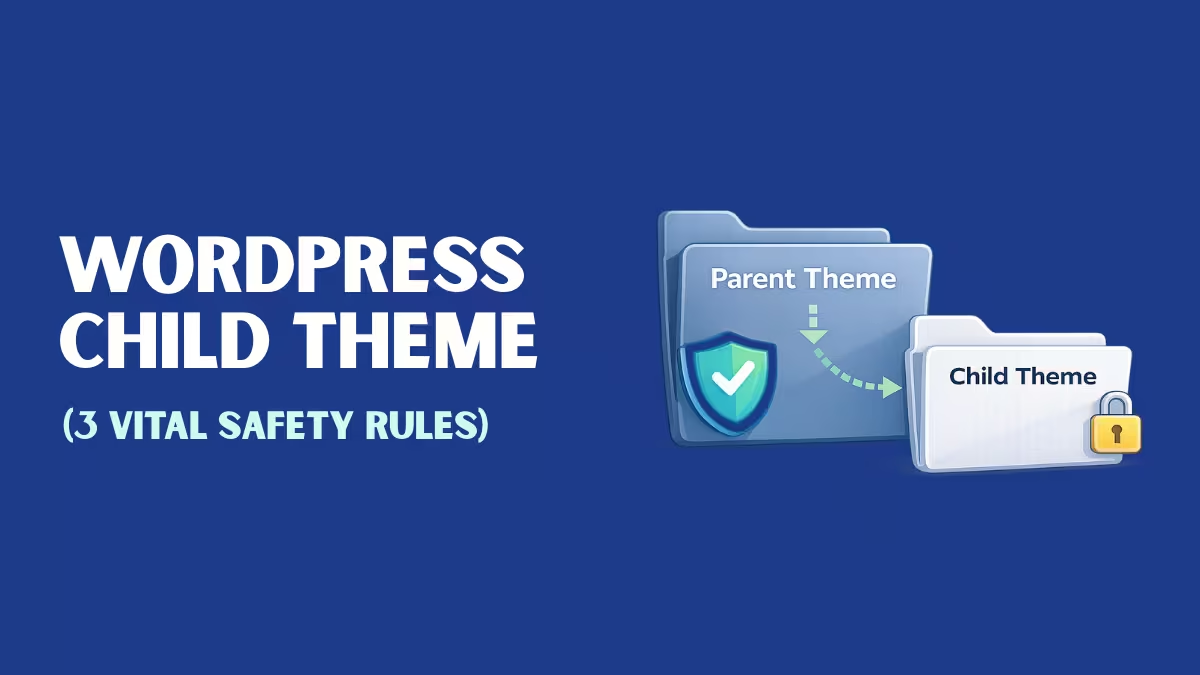
What Exactly is a WordPress Child Theme?
Think of a WordPress theme like a painting. If you paint directly on the canvas (the Parent Theme), you change the original artwork forever. If the original artist comes and swaps the canvas (a Theme Update), your paint gets swapped out too.
A Child Theme is like placing a clear sheet of glass over that painting. You can paint on the glass, adding your own colors and styles. When you look at it, you see the combined result. But if the canvas underneath is swapped or updated, your painting on the glass remains perfectly safe.
- Parent Theme: The core files (e.g., GeneratePress). It provides the engine and base functionality. You can read more about the technical structure in the official WordPress Theme Handbook.
- Child Theme: A separate set of files that inherits everything from the Parent but allows you to override specific parts.
Why You Absolutely Need One (The 3 Rules)
As a developer, I follow strict rules for every project. Rule #1 is always “Safety First.”
- Update Protection: WordPress themes update frequently to patch security holes (crucial for PHP vulnerabilities). If you edit the parent theme directly, you cannot update without losing your changes. A child theme lets you update the parent safely.
- Code Organization: It keeps your custom CSS and PHP functions separate from the core files. This makes debugging much easier.
- Safe Testing: If you make a syntax error in your child theme’s
functions.php, you can simply delete that file via FTP, and your site will revert to the parent theme, saving you from the “White Screen of Death.”
How to Create a WordPress Child Theme (The Developer Way)
While there are plugins that can do this, creating one manually gives you full control. Here is how to create a WordPress child theme for GeneratePress.
Step 1: Create the Folder Access your site files (using cPanel or a local setup like LocalWP). Go to /wp-content/themes/ and create a new folder named generatepress-child.

/wp-content/themes/ directory and create a clean new folder named generatepress-child.Step 2: Create the Stylesheet Inside that folder, create a file named style.css. Paste the following code:
/*
 Theme Name:   GeneratePress Child
 Theme URI:    https://prowpkit.com
 Description:  Default GeneratePress child theme for ProWPKit projects.
 Author:       Dhanush R S
 Template:     generatepress
 Version:      0.1
*/
/* Add your custom dark theme CSS below */
body {
    background-color: #121212;
    color: #ffffff;
}
Note: The line Template: generatepress is the most important—it tells WordPress that this theme relies on GeneratePress.

style.css. The line Template: generatepress is the magic key that connects it to the parent theme.Step 3: Enqueue the Styles Create a second file named functions.php. This loads your new styles along with the parent styles.
<?php
/**
 * Enqueue scripts and styles.
 */
function prowpkit_child_scripts() {
    wp_enqueue_style( 'generatepress-child-style', get_stylesheet_uri() );
}
add_action( 'wp_enqueue_scripts', 'prowpkit_child_scripts' );
?>
Activating Your Creation
- Go to your WordPress Dashboard.
- Navigate to Appearance > Themes.
- You will see your new “GeneratePress Child” theme listed.
- Click Activate.

Pro Tip: When you activate a child theme, your Customizer settings (menus, widgets) might reset. It’s best to set up a child theme before you start designing!
— WordPress Team
Conclusion
Using a WordPress Child Theme isn’t just a “good idea”—it is a standard requirement for professional WordPress development. Whether you are building a personal portfolio or a client site, starting with a child theme ensures your code is safe, organized, and update-proof.
Now that your foundation is secure, you are ready to start building. If you prefer to have a professional handle the technical setup for you, check out our WordPress Development Services.